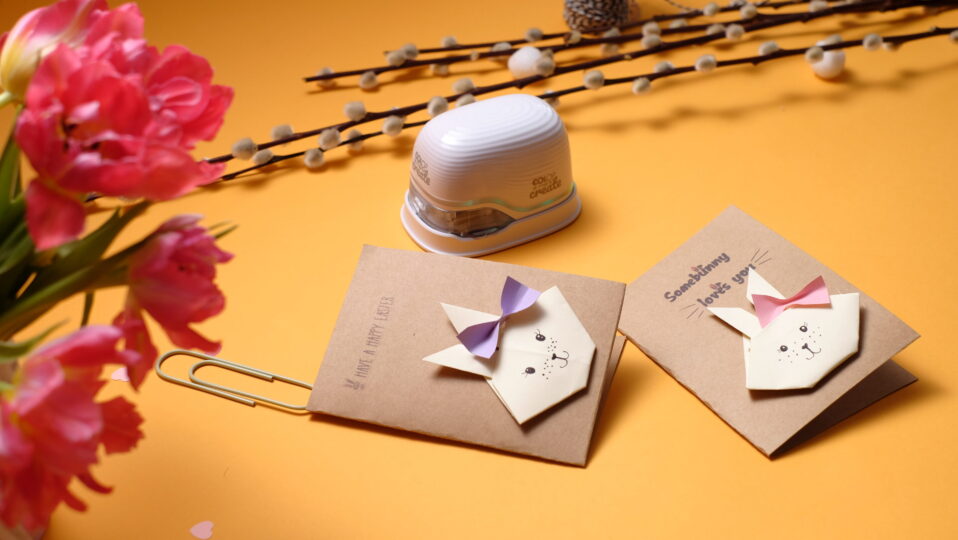
Personalised DIY Easter cards for your loved ones
STEP 1 - Making DIY Easter cards
Every Easter gift needs a beautiful Easter card. To make sure you never run out of ideas, we are going to show you how to make, personalise and print your own origami bunny card in our new DIY tutorial. To get started straight away, all you need to do is get everything you'll find on our little shopping list:
- Cardboard
- Square, thin paper in two different colours
- Black fineliner (pen)
- Hot glue gun
- COLOP e-mark create
- COLOP e-mark ruler
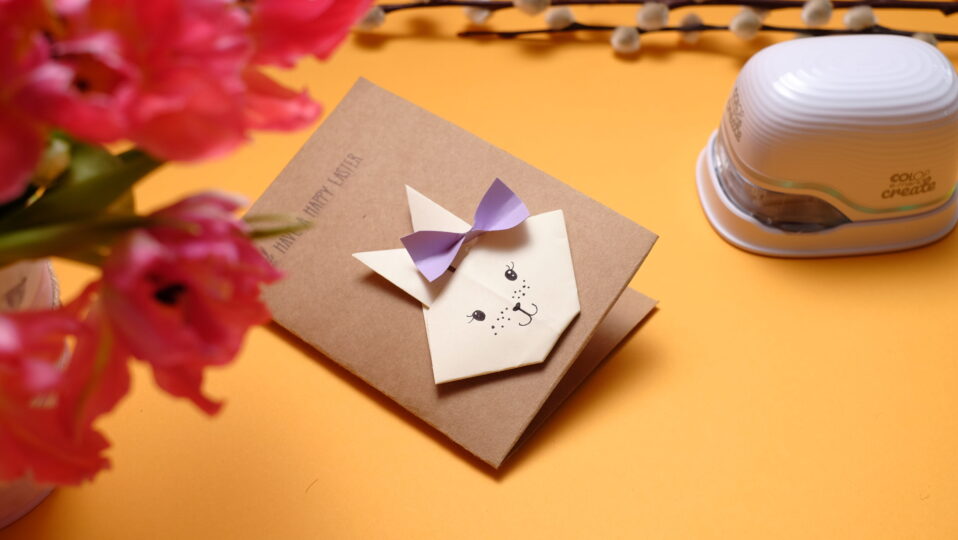

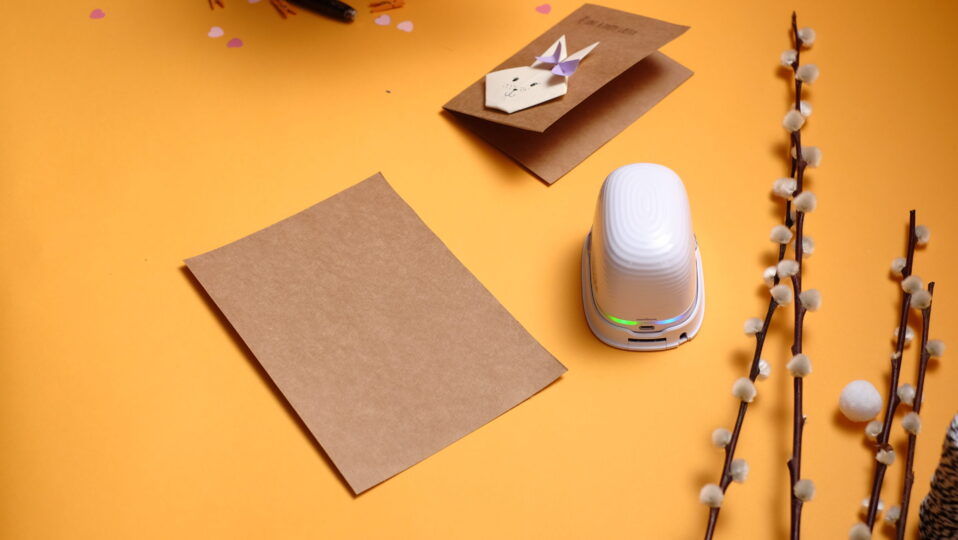

STEP 2 - Make the card
Cut a rectangle out of your cardboard and fold it in half. Grab your smartphone and choose a beautiful Easter motif for your card from the free templates on our website.
STEP 3 - (Easter) card printing
With your e-mark create you can now print your card with an Easter motif. Simply download the motif you want and start printing - you are also welcome to use the multi-line designs. By the way, you can also use the COLOP ruler. Our TIP: For multi-line designs, be sure to print each line separately when using the ruler. This way you will always get nice straight prints.
STEP 4 - Fold the Origami Bunny
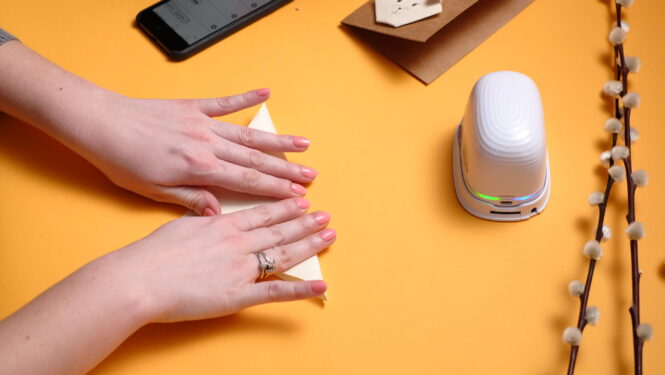
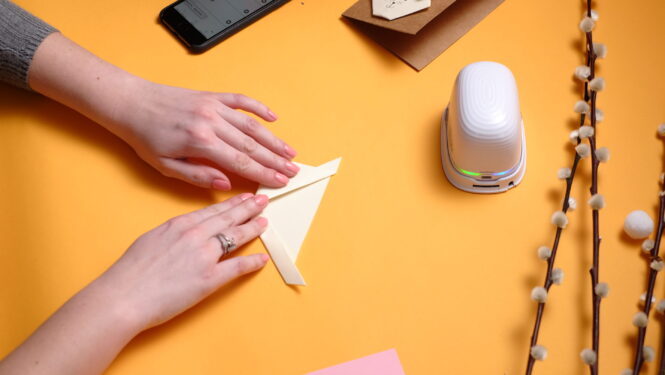
Now it's time to fold your little origami bunny. Take your square sheet of paper and fold it according to our template, which you can download here:
With just a few simple steps, the bunny is ready to be folded.


STEP 5 - Design the (Easter) greeting card
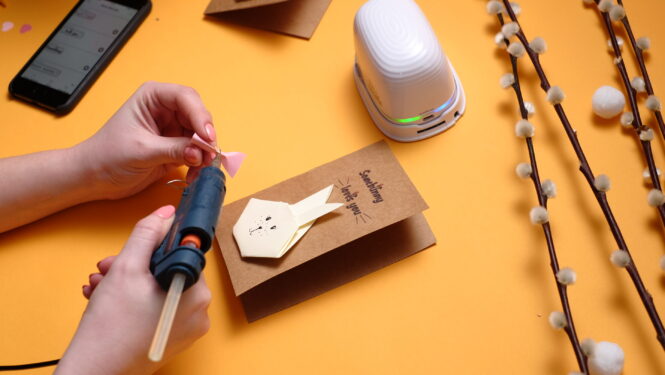
In the next step, you can give your self-made bunny a cute facial expression and then stick it onto your card. It's best to use a hot glue gun.
STEP 6 - Decorate the card
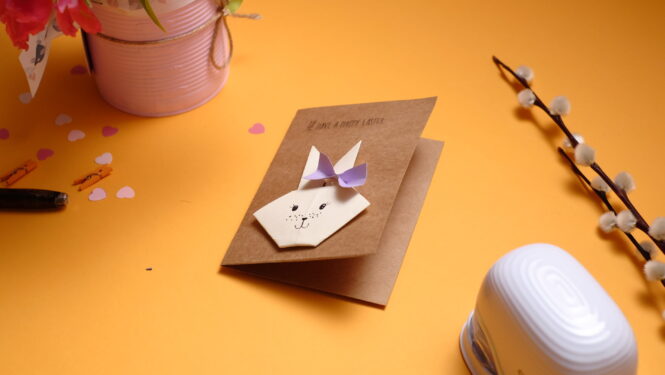
Now cut out a small rectangle from the other sheet of paper and press it lightly in the middle. This creates a bow, which gives the bunny a little colour.


STEP 7 - Final touches
Your Easter card is almost ready. Think of a nice text for the inside of the card and get your loved ones in the Easter mood! Have fun with your next DIY project!
