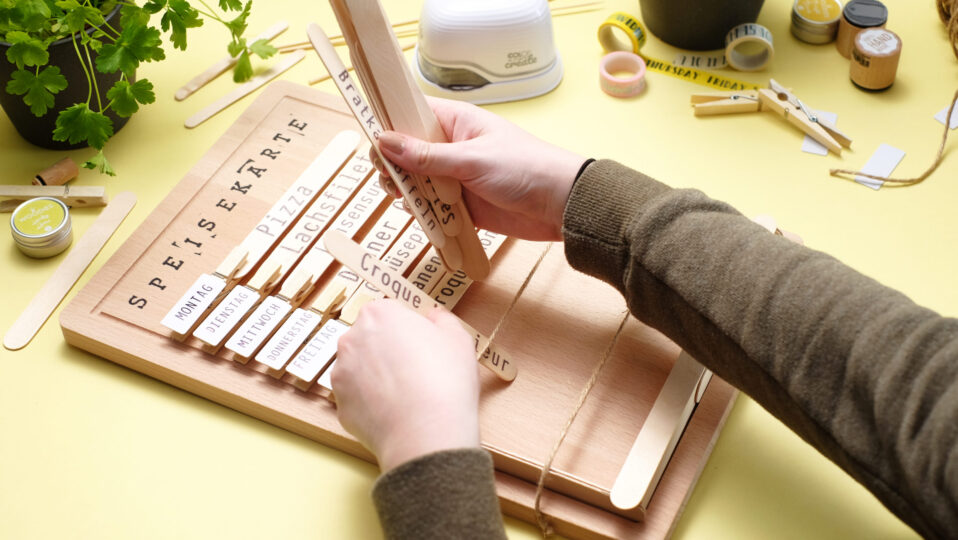
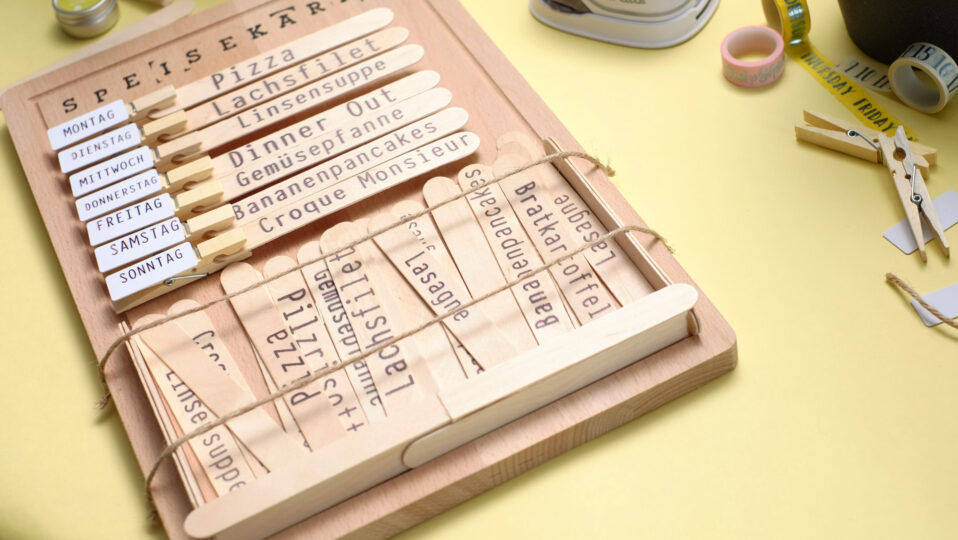
Homemade menu for more clarity what comes on the plate
STEP 1 - Crafting preparations
What you need for the implementation of the menu project can be found on the following shopping list:
- Wooden board in your desired size
- Clothes pegs
- Large wooden sticks
- Hot glue gun
- Natural cord
- COLOP e-mark® plastic adhesive signs
- COLOP e-mark® create
- COLOP e-mark® ruler

STEP 2 - Printing on a wooden board
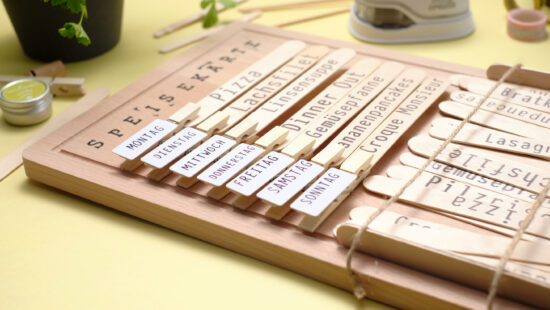
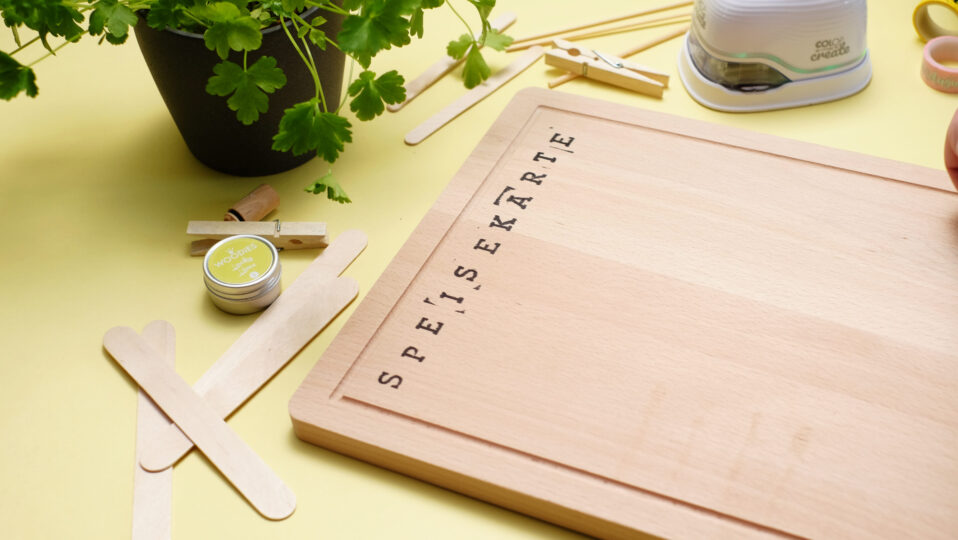
First of all, print a title on your wooden board - this way it is immediately clear what it will be. For example, we chose "Speisekarte" (German for Menu) as the headline and printed it directly on the board. To do this, find a font from the app that you like best.
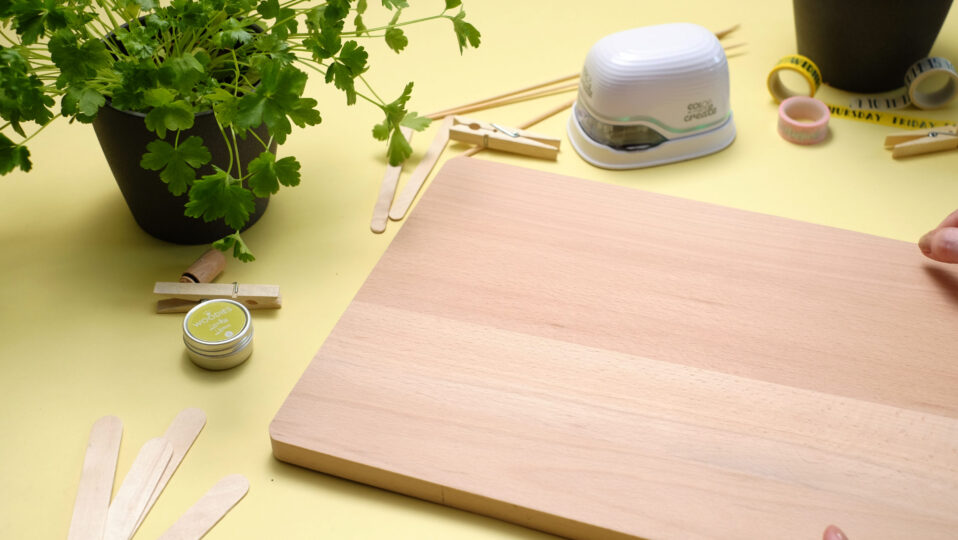


STEP 3 - Printing the signs
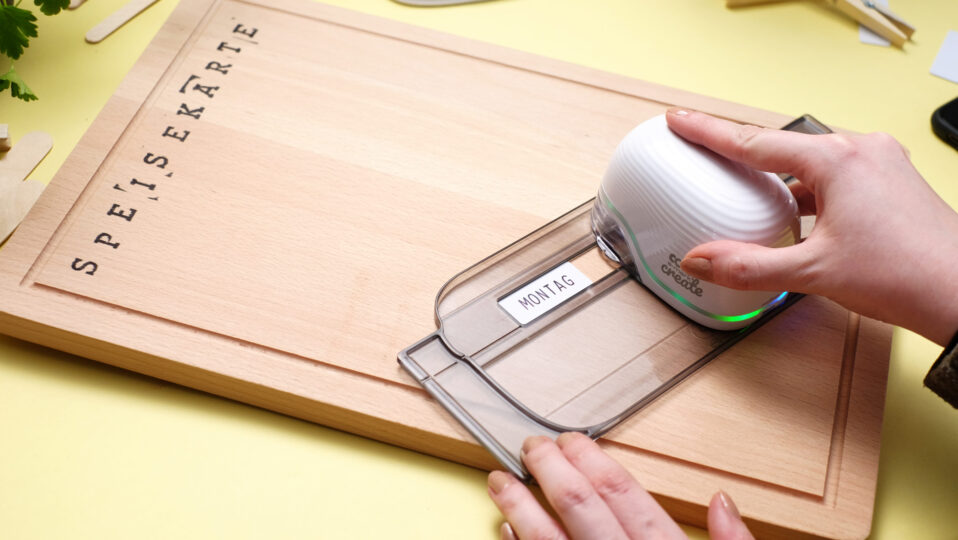
Take the small plastic tags, our COLOP ruler and print all the days of the week from Monday to Sunday on the small tags. You can download the weekdays as ready-made templates from our website or use your own creations.

STEP 4 - Attach the tags
As our plastic tags are self-adhesive, all you need to do is peel off the foil on the back and place them on the clothes pegs at the front. Press them down smoothly and you have completed one of the most important steps: all the days of the week are now ready to be attached!
STEP 5 - Attach wooden sticks
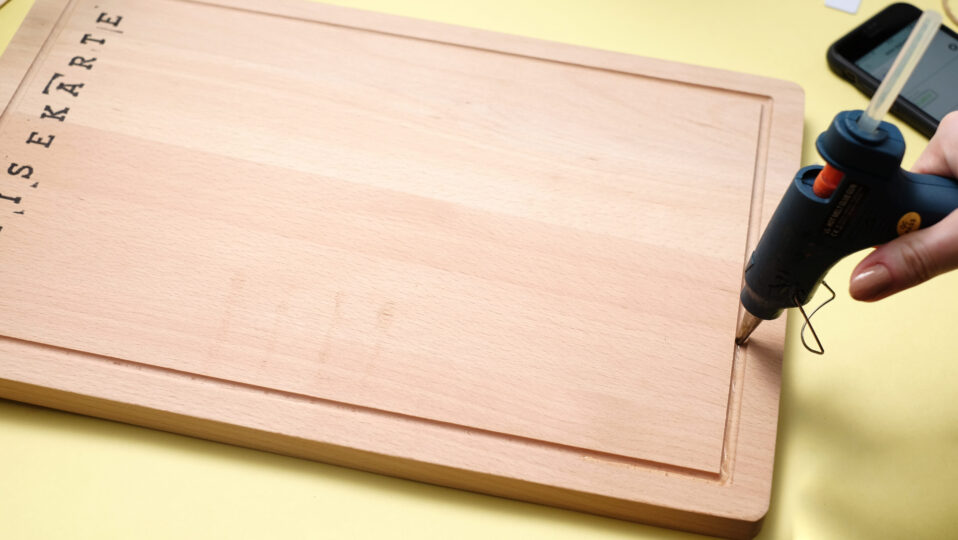
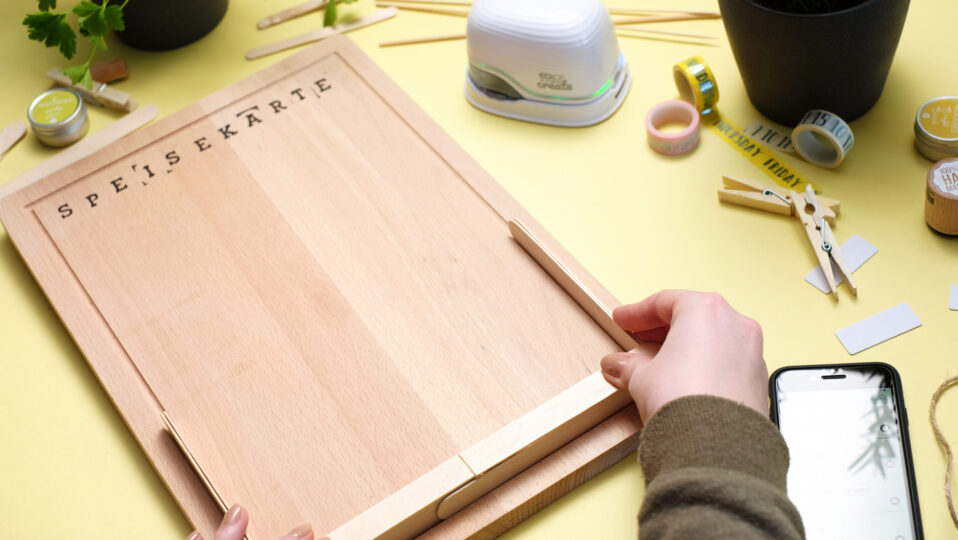
Now we'll jump forward a little and build the device so that your replacement wooden sticks don't fall out at the end. To do this, take several sticks and glue them together so that they fit exactly in the lower part of your wooden board.


STEP 6 - Attach natural cord with hot glue
To make sure that everything holds together twice as well, attach 2 natural cords horizontally with a little hot glue. That way nothing will fall out!
STEP 7 - Glue on the wooden clips
If your fixture is holding tight, you can now glue all the clothes pegs in the upper part with the hot glue gun. This is done easily and quickly.
STEP 8 - Print the wood
Now you just have to think about what to serve for dinner. Use the COLOP e-mark create to print the names of your favourite dishes on the large wooden sticks. In our free app you can choose your own font, colour and size, transfer the designs to the COLOP e-mark and print them on wood.
STEP 9 - final touches
Now that you have printed a large selection of dishes, the self-made menu card is ready to be filled. So simply clip your menu sticks into the clothes pegs and put the rest into the lower fixture. Now all you have to do is hang it on the wall and keep an eye on everything! We wish you lots of fun doing it!
