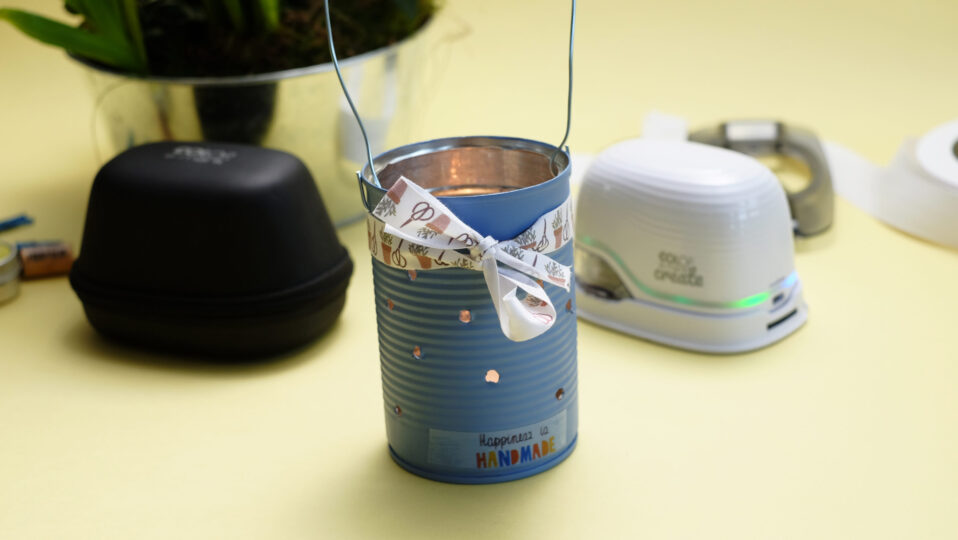
Let there be light – make garden lights and print them with the e-mark create
STEP 1 - Preparations for handicrafts
You want to spice up your balcony or garden and are looking for something really individual? Then today's upcycling project is just the thing for you. We'll show you how to create a beautiful garden light in just a few steps. Here is your checklist:
- Tin can
- Well covering colour
- A paintbrush
- Drill bit
- Wire and pliers
- Tea light
- COLOP e-mark® create
- COLOP e-mark® Ribbon
- COLOP e-mark® endless labels transparent
- COLOP e-mark create Ruler und Ribbon Guide


STEP 2 - Making a tin can
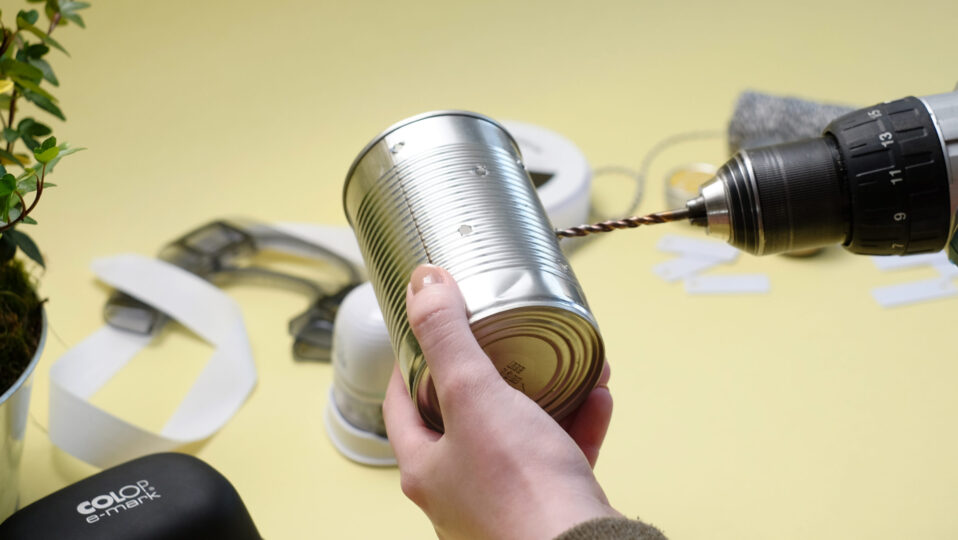
Take a tin can and mark with a pencil the points you want to drill through later. Use a pencil or a felt-tip pen. Then use the drill to slowly drill the holes all around the can without applying too much pressure. Remember that you will also need holes left and right at the top to attach the hangers later.


STEP 3 - Painting the decoration
Now take some paint and brush it all over the tin. Be sure to wait until everything is dry before you go on, otherwise our endless labels won't last.
STEP 4 - Attach wire
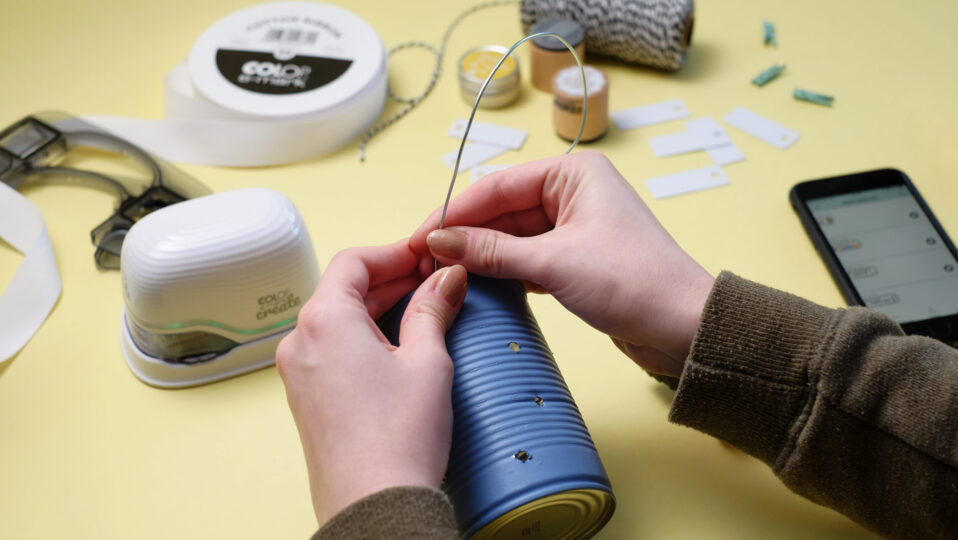
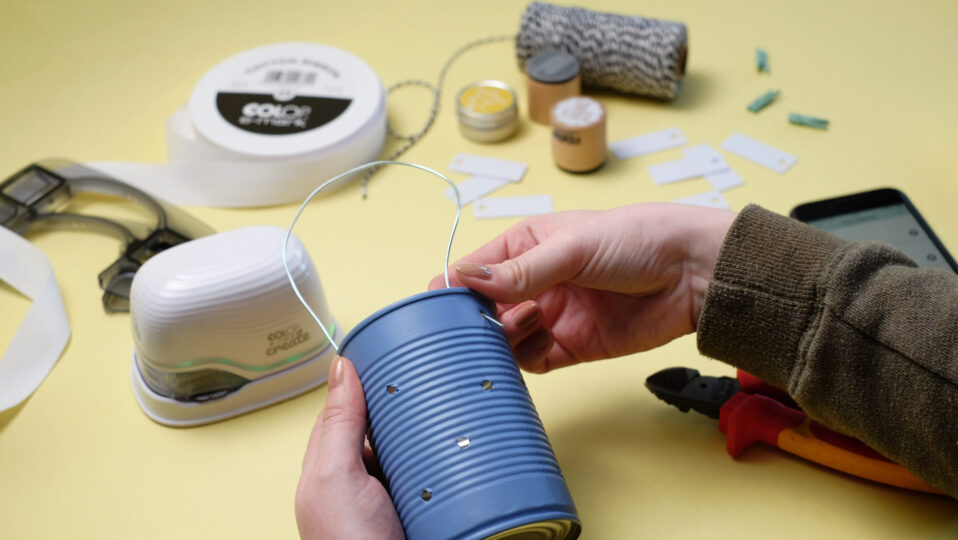
When everything is dry, you can continue. Take a wire that is easy to bend but still sturdy. It should not be too thin, but not too thick either. Use pliers to cut the wire to the desired length and insert both ends into the left and right sides of your tin. To make sure everything stays in place, simply fold the wire upwards a little.As our plastic tags are self-adhesive, all you need to do is peel off the foil on the back and place them on the clothes pegs at the front. Press them down smoothly and you have completed one of the most important steps: all the days of the week are now ready to be attached!


STEP 5 - print on the garden light
Now everything is ready and it's time to print! Yippee, printing can be a lot of fun. Decorate your garden light for example with our transparent endless labels - by the way, you can also find them in the e-mark online shop. You can use the e-mark ruler or the Ribbon Guide 15 to ensure that the print is placed straight. Now select your desired motif in the free app or design it by yourself, apply the e-mark create and print.
STEP 6 - final touches
Your garden light can also be spiced up with a stylish ribbon. To do this, take our e-mark cotton ribbon and select your desired motif in the app. To print, pull it through the ribbon guide and then place the e-mark create in the device - voilá, with a right-hand movement, the ribbon is already embellished individually. Just tie it around the garden light and you're done.


